

Introduction
Cracked back glass is a relatively common issue with the iPhone 15, necessitating a safer and more efficient repair method for replacement. Compared to traditional manual scraping, laser removal technology enables non-destructive separation, thereby preventing secondary damage to the device’s structural integrity. By utilizing the professional solutions provided by DIYFIXTOOL—specifically the REFOX RK10 UV Laser Machine, specialized disassembly tools, and B-7000 adhesive—repair professionals can enhance disassembly precision and bonding quality, effectively mitigating repair risks and ensuring the high-quality replacement of the back cover.
Preparation of work area and necessary equipment
Before starting any restoration, it is essential to prepare a smooth and clear working area. A treatment table with antistatic safety is especially encouraged because static electricity can damage touch-sensitive phone jacks. Installation of live lighting is equally important, as small pieces of broken glass can be difficult to see as any factor in the breakage. The phone must be powered up to complete shutdown before any recovery meditation begins offevolved offevolved. If the battery level is high, a discharge less than 25 percent is too safe to approach warm-up sooner or later to reduce the risk of overheating or battery overheating .
Regeneration types require several special tools to successfully complete the system. The REFOX RK10 UV Laser Machine is used to split damaged glass from housing with high accuracy. The Pry Blade Phone disassembly tool kit allows you to properly open the device without bending out the frame or reversing the flex cable. Micro-front ESD tweezers are supported because it will provide even more grip than getting rid of small pieces of glass instead of digital cameras Technicians will also need heat guns or hot air vents, suction cups, alcohol response above 90 percent purity, microfiber glove brush options, glass protection coatings. Trust B-7000 Glue for bonding as it creates a strong and bendable seal that works well with mobile maintenance.
Safe heating and removal of broken back glass
The first main treatment step is to soften the production unit adhesive under the damaged glass. A hot air gun or heater should be used carefully to avoid overheating internal connectors. The suitable hot air temperature for the iPhone 15 series is usually between 80°C and a hundred°C. Slowly apply heat across the perimeter of the bottom panel about one to 2 min. Technicians should run the heat distribution in a circular motion instead of focusing on one area for too long. Concentrated heat can damage the wi-fi charging coil, battery, or digicam module.
Once the adhesive has softened, the following are the steps to begin peeling off the cracked film. The suction cup can carry a number of broken glass even if the thin metal blade from the Pry Blade Phone Disassembly Tool Set slides into the compartment. The plastic options are then inserted to shrink slowly through the softened adhesive. If the glass is damaged and returned incorrectly, it is capable of shattering many small pieces when removed. Pointed chrome steel pliers are useful for pulling out quality parts in that particular country. Technicians need to provide special values near the camera ring due to the asymmetric stresses at this location and the fact that it can scratch the lens or damage the frame of the digital cameras .
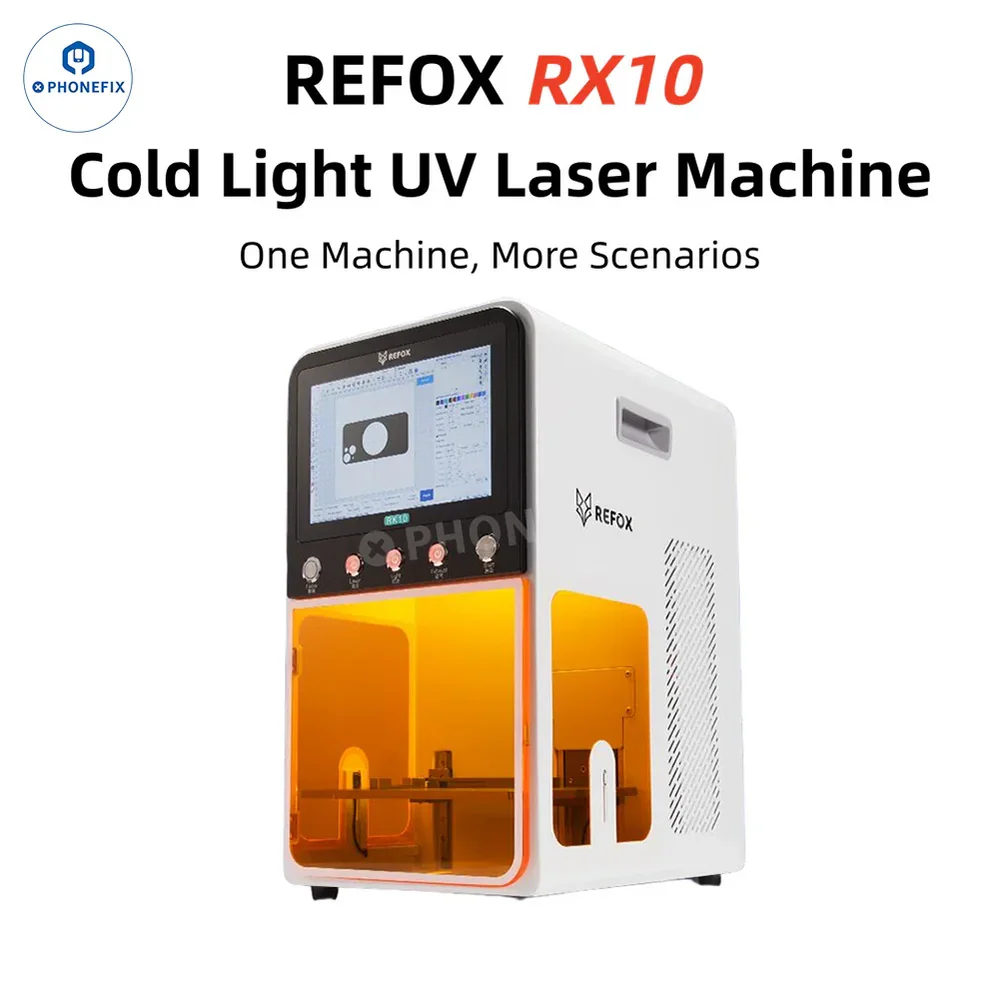
Using the REFOX RK10 UV Laser Machine for Precision Removal
Modern restoration shops are increasingly using laser manufacturing because it produces faster and cleaner results compared to guided scraping techniques The REFOX RK10 UV Laser Machine is specifically designed for cellular glass separation and is remarkably powerful for iPhone repair. Before jogging the equipment, the technician should align the iPhone on the laser platform and select the exact model settings. Protective laser glasses must be worn frequently because ultraviolet and blue lasers can damage the eyes.
The laser type, in turn, works by burning off a layer of adhesive under the glass, leaving the frame generally untouched. During operation, the laser passes over the bottom of a particular pattern, weakening the bond that protects the groove within the rim. After the laser cycle is completed, the final adhesive is more easily removed with a pry machine and post-cleaning. This method significantly reduces the amount of preferential pressure through disassembly, reducing the risk of housing bending or unfortunate fragile components Many restoration experts choose the REFOX RK10 UV Laser Machine because it improves the overall performance of the restoration and creates a glass collector cleaner.
Cleaning the Frame and Preparing for New Glass Installation
After the damaged glass is completely removed, the body should be thoroughly cleaned before replacing the replacement part. Residual adhesive, dirt, and damaged glass particles can prevent you from effectively sealing a new re-protection. A plastic scraper should first be used to remove thick adhesive residue without scratching the body. Then, a microfiber cloth soaked in isopropyl alcohol can smooth the end adhesive off the surface.
Technicians usually use antistatic tweezers and a soft cleaning brush to get rid of small glass parts hidden near the charging coil and digicam edges. Careful cleaning is especially important because trapped particles can cause uneven stresses under the optional panel. Some repair specialists even use compressed air to clean dirt from thin corners. Technicians may also apply glass adhesive or cold press adhesive during this program, depending on the repair technique and quality of the replacement part. The glue should be applied sparingly around the frame, especially near the corners and digicam housing, to ensure proper seal and restore structural stability.
Installing the New iPhone 15 Series Back Glass
Again, installing the replacement panel requires stamina and precise alignment. Before using adhesives permanently, technicians should perform dry-sizing to determine whether discrepancies such as optional glass aligning effectively with camera clips, flash mounts, charging coil areas may affect appearance and interfere with MagSafe chargers or accessories with protective insights.
Instead of using an excessive amount, apply a thin or even layer of B-7000 Glue around the frame. Too much glue can leak into the digital camera or drop on the device. The replacement glass should then be slowly lowered into the body by applying gentle pressure. Some technicians use alignment molds or clamps to keep the panel in operation throughout the curing process. The adhesive often requires several hours to reach full strength, so the tool should remain undisturbed during this time. If a cold press tool is to be had, it can also provide tension throughout the back and increase the binding nicely.
Testing and Verifying the Repair Quality
After the adhesive has fully cured, the restoration should be carefully inspected before returning the device to the conservator. The first step is a visual inspection to confirm that the replacement glass is sitting flush against the frame with no visible gaps. Camera lenses should also be checked for dust, fingerprints, or scratches that may appear at some point during the treatment process
Functional testing is equally important after the selection of subsurface glass. The technician should turn on the iPhone 15 storage device and observe wireless charging, camera recognition, flashlight display, expansion buttons, and speaker community connectivity, as heating and disconnection can often affect internal connectivity, and determining which feature may prevent the customer from taking action later. Technicians should also look for adhesive leaks or sensitive connection points at the edges of the back panel. A properly treated mobile phone should feel stable, accessible and in near factory condition.
Conclusion
Replacing the back glass on an iPhone 15 requires specialized procedures and tools. Through standardized heating, cleaning, and precise reassembly, both the quality and success rate of the repair can be significantly enhanced. Utilizing the REFOX RK10 UV Laser Machine allows for the efficient removal of shattered glass, while pairing it with B-7000 adhesive ensures a secure bond, thereby minimizing the risk of damage to the device chassis. When combined with the DIYFIXTOOL repair system toolkit, the process becomes safer and more efficient, restoring the device to its original aesthetic appearance and structural integrity.


